
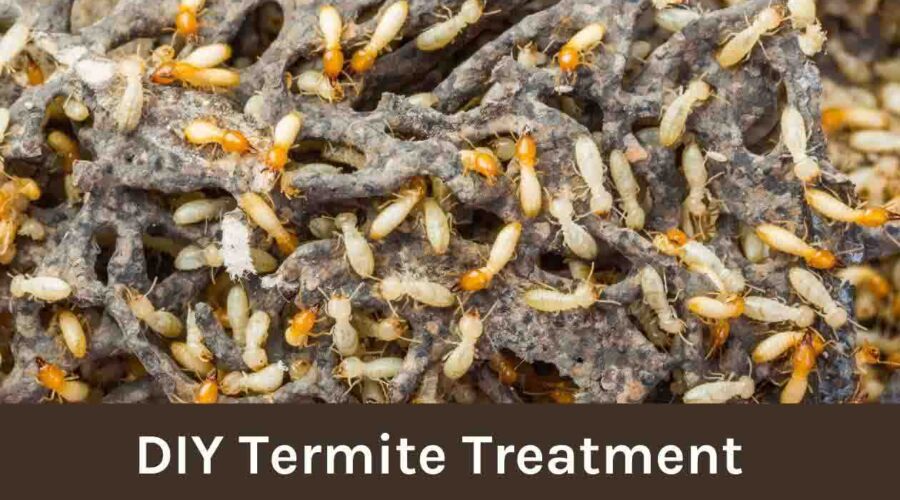
DIY Termite Treatment: Affordable Options for Termite Control
There has been a marked rise in the DIY Termite Treatment by most homeowners in Washington, in part because of the relative cheapness as a solution to the destruction of property caused by these pests. For homes still beset by termites, many residents have turned towards do-it-yourself treatments-often effective and enabling them to save thousands of dollars in the process.
What is DIY Termite Treatment
Termite treatment through DIY is usually a reference to techniques that homeowners themselves need to implement without the yoke of a professional. It can range from simple preventive measures to those that target already existing infestations. The best termite treatment is often a combination of several treatments or methods to construct an effective defence against wood-destroying insects.
Introduction to DIY Methods
Modern DIY Termite Treatment has grown immensely, providing a comprehensive arsenal of alternatives for Washingtonians to combat termites. From bait systems to liquid treatments, homeowners may now have at their disposal some of the very tools the professionals use, although knowing how to apply them properly is the key to success.
Common DIY Treatments
Several proven termite treatment DIY methods have gained popularity among Washington homeowners:
Liquid Barrier Treatments
- Trenching and rod injection techniques
- Non-repellent termiticides
- Perimeter application systems
Bait Station Systems
- Above-ground bait stations
- In-ground monitoring systems
- Cellulose-based attractants
Comparison of DIY Methods
| Method | Cost Range | Effectiveness | Time Investment | Skill Level |
| Liquid Barriers | $100-300 | High | 6-8 hours | Moderate |
| Bait Systems | $200-400 | Moderate | 2-3 hours initial | Low |
| Orange Oil | $50-150 | Low-Moderate | 2-4 hours | Low |
| Borax Treatment | $30-80 | Moderate | 3-5 hours | Low |
What is DIY Termite Treatment in Walls
Some type of in-wall termite treatment requires specialized attention, as termites often maintain an extensive network in these hidden spaces. A proper DIY termite treatment approach towards wall infestation requires systematic execution to ensure effective control.
Locate Infestation Points
Before practising any termite control techniques on your own, take time to inspect your walls for:
- Mud tubes on wall surfaces
- Hollow-sounding or damaged wood upon tapping
- Visible holes or tunnels in wooden structures
- Bubbling or peeling paint
- Tiny piles of termite droppings near walls
Create Access Points for Treatment
For effective DIY Termite Treatment, you’ll need to:
- Drill small holes (approximately 1/8 inch) in the wall at regular intervals
- Space holes about 12-16 inches apart horizontally
- Create holes both above and below the suspected infestation area
- Be careful to avoid electrical wiring and plumbing
Apply the Appropriate Termiticides
The best termite treatment method for wall application involves:
- Using EPA-approved termiticides specifically designed for wall voids
- Applying foam or liquid treatments through injection ports
- Ensuring even distribution of the treatment throughout the wall void
- Following the manufacturer’s instructions for proper dilution and application rates
Seal and Protect Treated Areas
After completing your DIY termite treatment:
- All drill holes should be sealed with an appropriate patching compound;
- Apply a protective barrier treatment around the exterior of the wall;
- Monitor the treated areas for at least 6 months; and
- You might consider putting preventive measures in place, such as moisture barriers or termite-resistant materials.
A reminder; successful DIY Termite Treatment in walls often takes patience and care. Most of these measures can control minor infestations; extensive wall damage may warrant professional treatment to ensure the complete removal of the termite colony.
Steps of DIY Termite Treatment at Home
Inspection
- Check for mud tubes
- Identify entry points
- Document damage extent
Preparation
- Gather necessary tools
- Clear treatment areas
- Ensure proper safety equipment
Application
- Follow product instructions
- Maintain consistent coverage
- Monitor treated areas
Common Termites That Individuals Can Remove Easily
Washington homeowners commonly encounter these manageable termite species:
- Subterranean Termites
- Dampwood Termites
- Western Drywood Termites
Safety Tips for DIY Termite Control
Implementing DIY Termite Treatment requires careful attention to safety:
- Wear adequate personal protective equipment
- Arrange for airy space to work
- Keep children and animals away from your area
- Store your products in a child-proof place
- Follow label instructions to the letter
Tools Needed for Effective Treatment
Whatever you may need to treat termites, basic equipment for DIY termiting includes:
- Protective clothes (gloves, masks, and goggles)
- A sprayer or applicator
- A drill and injection tools
- Moisture meter
- Inspection tools
Only through proper preparation and execution of the buildings and immediate environments surrounding them can any DIY Termite Treatment be successful. While these methods may prove effective for quite a few situations, other infestations may require commercial intervention.
DIY Termite Treatment Methods Comparison
| Treatment Method | Tools Needed | Cost Range | Effectiveness |
| Liquid Barrier Treatment | Trenching tools, Sprayer, Drill, Measuring tools | $100-300 | High: Creates complete perimeter protection |
| Bait Station System | Post-hole digger, Monitoring tools, Bait stations | $200-400 | Moderate: Takes time but effective long-term |
| Orange Oil Treatment | Spray equipment, Injection tools, Detection Equipment | $50-150 | Low-Moderate: Only works for dry wood termites |
| Boric Acid Application | Powder applicator, Spray bottle, Brush | $30-80 | Moderate: Good for prevention |
| Foam Treatment | Foam applicator, Drill, Injection ports | $150-250 | Moderate-High: Good for wall voids |
Safety and Risk Assessment
| Treatment Method | Risks | Safety Requirements | Overall Verdict |
| Liquid Barrier Treatment | Chemical exposure, Groundwater contamination | Full protective gear, Respirator | Best for whole-house protection |
| Bait Station System | Incomplete placement, Delayed results | Basic protective gear, Gloves | Safest DIY option |
| Orange Oil Treatment | Wood damage, Limited reach | Eye protection, Ventilation | Best for spot treatment |
| Boric Acid Application | Respiratory irritation, Pet exposure | Dust mask, Eye protection | Most affordable option |
| Foam Treatment | Wall damage, Moisture issues | Full protective gear, Respirator | Effective for targeted areas |
Conclusion
DIY Termite Treatment can be an effective and cost-efficient solution for Washington homeowners dealing with termite problems. While these methods offer significant savings and provide a sense of control over the pest management process, it’s essential to assess your situation carefully before proceeding. The success of any termite treatment DIY approach depends largely on the proper identification of termite species, accurate assessment of infestation severity, careful implementation of chosen methods, and consistent monitoring. Remember that while the best termite treatment might seem like a DIY solution, certain situations warrant professional intervention, particularly when the infestation is extensive, multiple colonies are present, structural damage is significant, or treatment areas are difficult to access. Don’t let termite problems escalate – take action today! While DIY Termite Treatment can be effective for many situations, GOGETFIX is here to help when you need professional expertise. Our experienced team in Washington provides free initial consultations, professional-grade treatments, guaranteed results, and ongoing protection plans. Contact GOGETFIX today at +12177735600 or visit our website www.gogetfix.com to schedule your free inspection. Protect your home with Washington’s trusted termite control experts. Taking action early is crucial – whether you choose termite treatment DIY methods or professional services, the key is to address the problem before it becomes severe. Let GOGETFIX be your partner in maintaining a termite-free home.